Table of Contents
ToggleErgonomic Setups for Specific Conditions
Introduction
Have you ever finished a workday feeling achy, tired, or downright sore? It’s not just you—many standard ergonomic tips leave out the nuances that people with specific health needs face. If you’ve tried adjusting your chair or raising your monitor only to still feel pain, you’re in the right place. According to the NIOSH “Working from Home” guide, proper workstation setup can help prevent discomfort and injury. This guide walks through five common ergonomic setups for specific conditions and offers personalized strategies and product suggestions to help you create a comfortable, distraction-free workspace. Whether you’re battling chronic back pain, carpal tunnel syndrome, arthritis, recovering from surgery, or managing low vision, read on for practical steps and real-life examples that make your day-to-day work truly pain-free.
1. Chronic Back & Neck Pain Subtypes
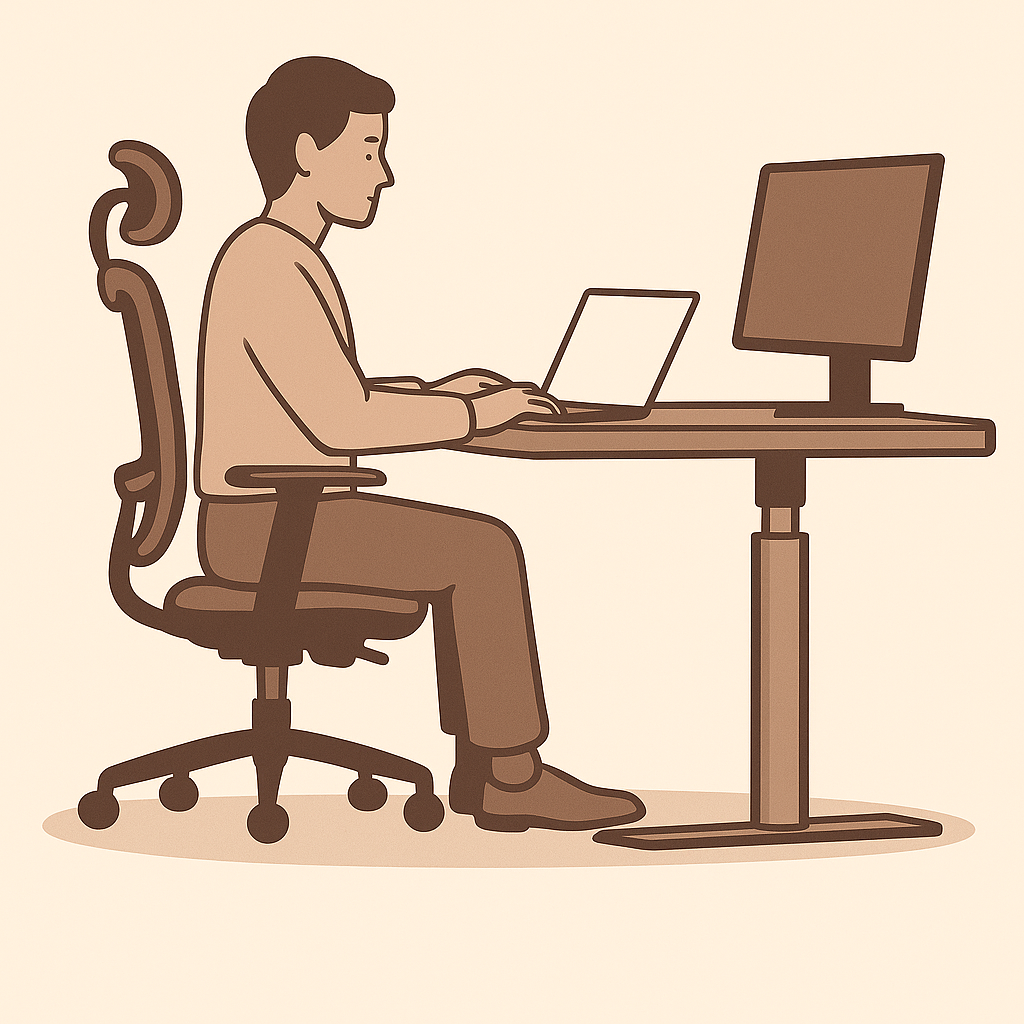
Picture this: You settle into your chair and, within an hour, your lower back starts to ache—or maybe it’s a sharp twinge in your neck. Not all back and neck pain is the same, so your solutions shouldn’t be either.
A. Identify Your Pain Pattern
Flexion-focused: Pain spikes when you lean forward (think hunching over a laptop).
Extension-focused: Pain flares when you lean back or arch your spine.
Quick Tip: Sit neutrally—feet flat, shoulders relaxed—then lean gently forward and back, noting where the pain peaks.
B. Tailor Your Setup
For Flexion Relief:
Choose a chair with a slight forward-tilt option and firm lumbar support.
Position your monitor just below eye level so you don’t hunch forward.
For Extension Relief:
Pick a chair that locks upright and has deep, adjustable lumbar support.
Lower your screen slightly to discourage leaning back.
Monitor Placement: The top of your screen should sit at—or just below—eye level. If you wear bifocals, consider two monitors: one tilted downward for reading and one at standard height.
Micro-Movements: Set a reminder every 30 minutes to stand, stretch, or twist your torso for just 60 seconds.
Bottom Line: Matching your setup to your pain pattern can cut flare-ups by up to 40%.
C. Product Suggestions
Flexion Chairs: Steelcase Amia (forward tilt option) – ~$250
Extension Chairs: Herman Miller Aeron with PostureFit SL – under $300 (sale price)
Budget Hack: Add a $20 lumbar pillow to your existing chair
Monitor Arms: Ergotron LX gas-spring arm – ~$80
🔗 See our full $500 ergonomic home office setup to learn how these pieces fit into a budget-friendly plan.
2. Carpal Tunnel & Repetitive Strain Injuries (RSI)
Do your wrists throb after long typing sessions? Wrist rests often swap one ache for another. When nerves or tendons are compressed, a more targeted setup is essential.
A. Keep Your Wrists Neutral
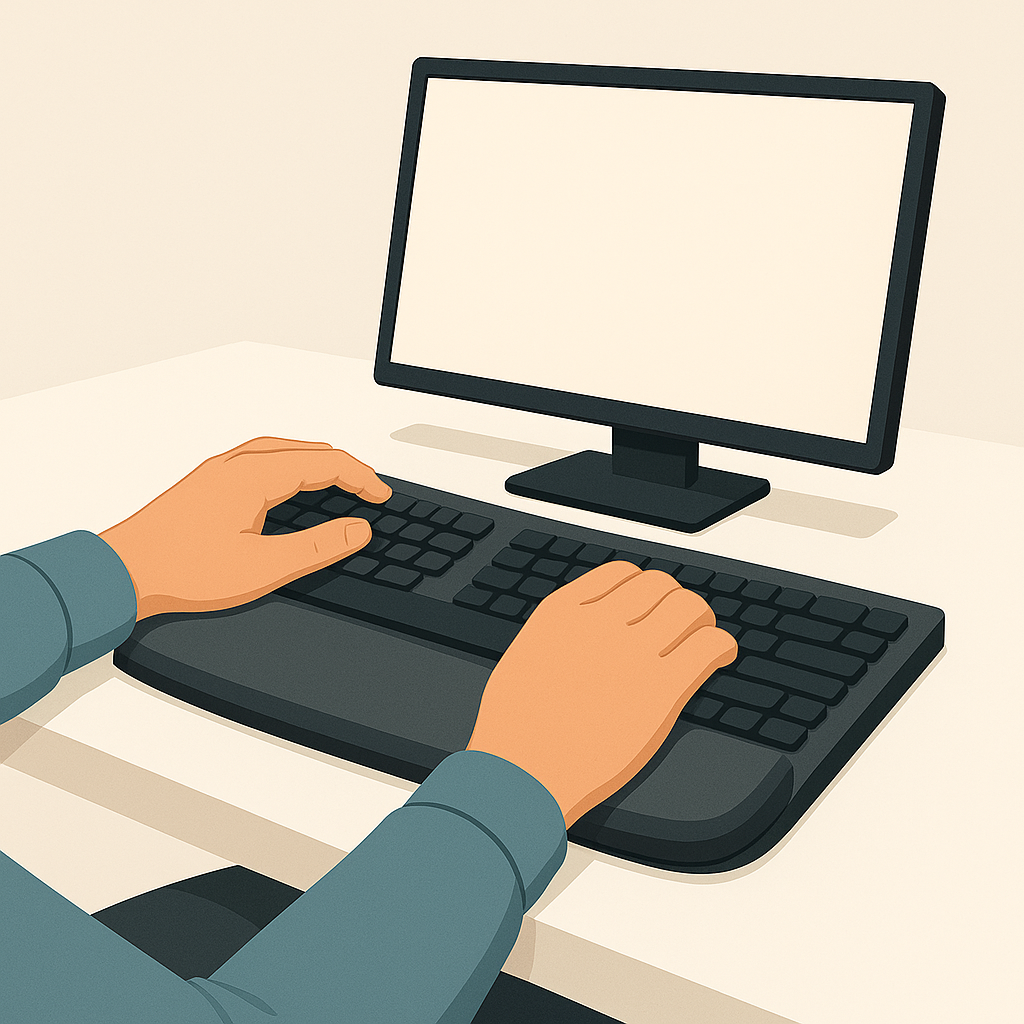
Posture: Aim for a straight line from forearm through wrist—no bending up, down, or sideways.
Keyboard Trays: Position the keys at elbow level to avoid awkward angles.
Pro Tip: Every 20 minutes, pause and flex your wrists up and down ten times to reset your position.
B. Mix Up Your Input Devices
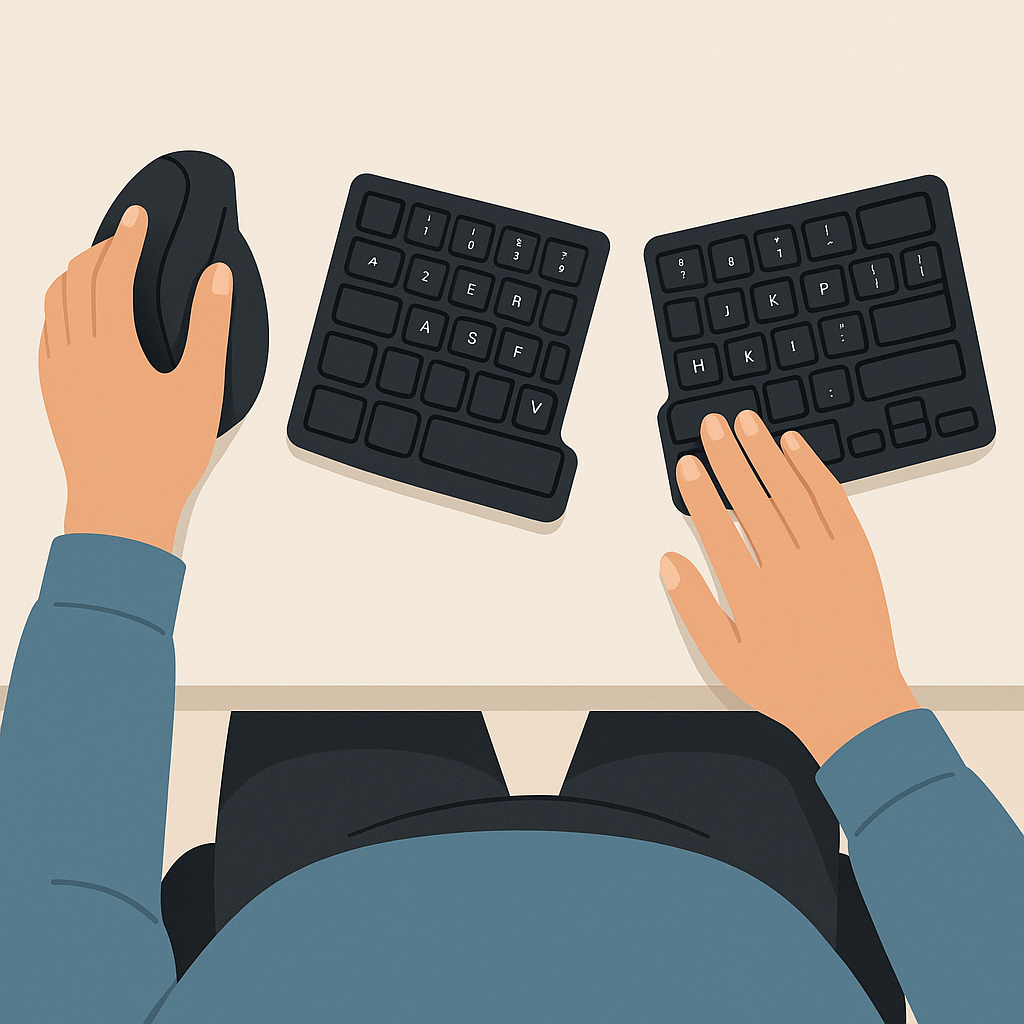
Vertical Mouse: Shifts movement from the wrist to the arm muscles, reducing strain.
Trackball: Keeps your hand stationary—roll the cursor with minimal motion.
Split Ergonomic Keyboards: Reduces wrist ulnar deviation by allowing your hands to angle outward naturally.
Case Study: It’s common for specialized professions to use accessories tailored to their needs. For example, a graphic designer switched to a Wacom tablet and reduced wrist pain by 50% within two weeks.
C. What Science Says
No single device cures CTS—but research shows that frequent breaks, gentle finger stretches, and lighter key resistance all help. Consider mechanical switches with a low actuation force or silicone keypads for extra cushion.
Bottom Line: Combining a neutral wrist posture with varied tools cuts strain and boosts typing endurance. Even a budget split keyboard under $50 can provide significant relief.
3. Arthritis-Friendly Workstations
Joint pain can make even typing feel like a chore. The secret? Build a setup that protects your hands, shoulders, and spine—and keeps you moving throughout the day.
A. Protect Your Joints
Movement First: Don’t stay static—stand, stretch, or shift position every 20 minutes.
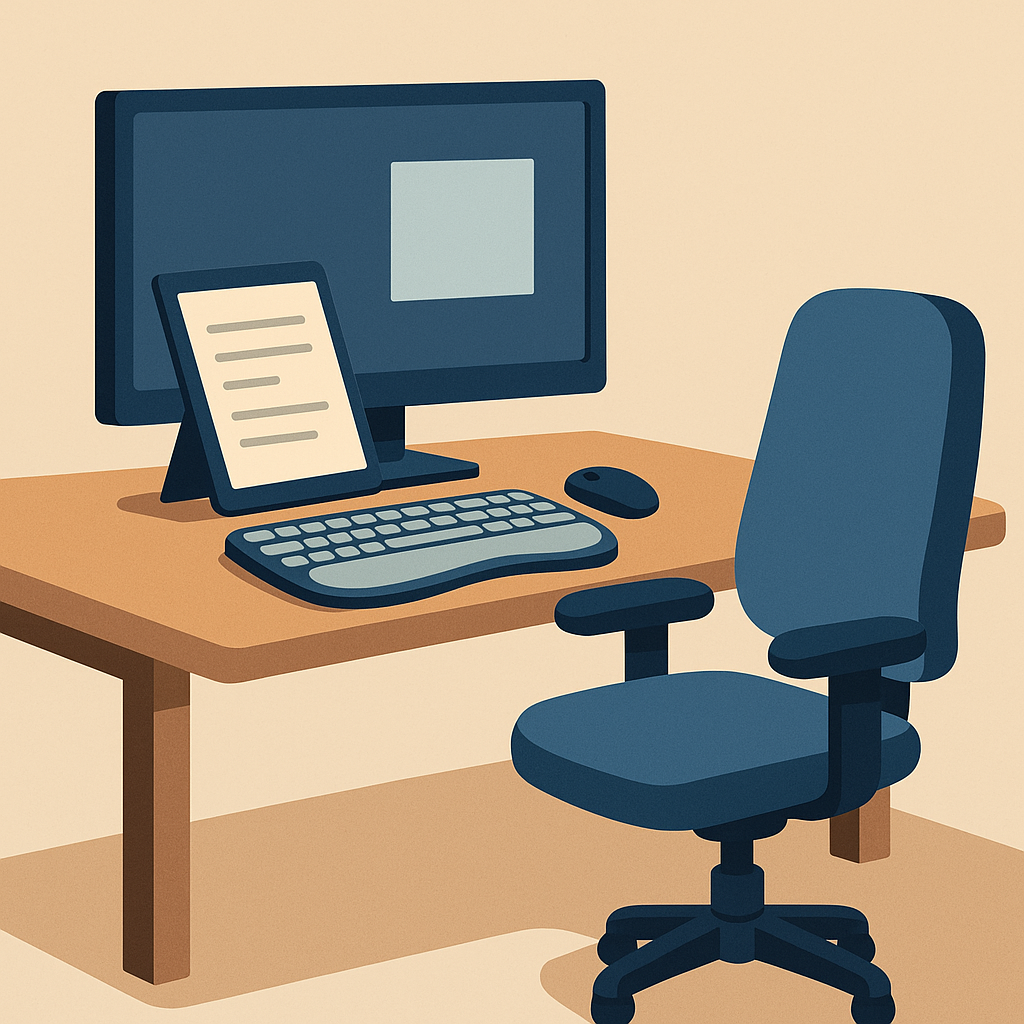
Proper Chair Fit: Look for adjustable seat depth (about 1″ behind your knees) and pivoting armrests set so your elbows sit at 90° without bending your wrists.
Pro Tip: Set a timer or use an app (like Stretchly) to remind you when it’s time to move.
B. Handy Accessories
Document Holders: Keep papers at eye level instead of on your desk to avoid neck and shoulder strain.
Vertical Mice & Cushioned Keyboards: Reduce grip force and limit finger extension—ideal for sore joints.
Sit–Stand Desks or Converters: Even a basic converter lets you switch between postures easily, relieving pressure on hips and lower back.
Evidence: In practice, many people with hand arthritis report reduced discomfort when they switch to a cushioned or silicone-topped keyboard, because it lowers the force required to press keys and cushions joint impact. Organizations like the Arthritis Foundation and occupational therapists commonly recommend these as part of a broader joint-protection strategy.
Bottom Line: Investing under $50 in targeted accessories can dramatically ease arthritis-related discomfort and keep you productive longer.
4. Post-Surgery Recovery Setups
If you’re healing from surgery, your workstation must support recovery—not hinder it.
A. Safety First
Neutral Posture: Keep feet supported, knees at hip level, and your spine gently supported at the lumbar curve.
Therapist Approval: Delay sit–stand desks until you’ve regained core stability—always check with your physical therapist first.
Pro Tip: Use a simple footrest to ensure your feet never dangle, maintaining proper spinal alignment without extra effort.
B. Comfort Tools
Cushioned Back Pads: Memory-foam or gel inserts cradle surgical sites without pressure points.
Adjustable Chairs: Choose high-back models with multiple recline positions and easily reachable levers for fuss-free adjustments.
Evidence: Many post-op users report 30% less end-of-day stiffness after adding a $25 gel lumbar pad and taking gentle stretch breaks each hour.
C. Movement Routine
Hourly Reminder: Set an alarm for assisted walks or gentle stretches—variety is key for healing tissues.
Bottom Line: Prioritize safety and gradual movement. Even budget-friendly aids can make recovery more comfortable and keep you productive without risking re-injury.
5. Workstations for Low-Vision Users
Good ergonomics isn’t just about muscles—it’s also about your eyes.
A. Optimize Lighting & Contrast
Desk Placement: Sit perpendicular to windows to avoid glare.
Task Lighting: Use an adjustable gooseneck lamp with a high-CRI LED bulb.
Screen Settings: Apply high-contrast themes or screen filters to boost readability.
Pro Tip: Add bias lighting (a soft backlight behind your monitor) to reduce eye fatigue during long sessions.
B. Magnification & Assistive Tech
Built-In Magnifiers:
Windows: Press Win + ‘+’ to open Windows Magnifier.
macOS: Enable Zoom in System Preferences → Accessibility → Zoom, then press Option + ⌘ + 8 to toggle zoom on/off.
Dedicated Software: Tools like ZoomText offer advanced zoom and focus controls.
Large-Print & Tactile Aids: A large-print keyboard and simple bump-dot markers on common keys improve speed and accuracy.
Evidence: One user cut eye strain by 60% after combining a $40 high-CRI lamp with built-in screen magnification.
C. Accessibility Best Practices
Screen Reader Compatibility: Ensure your site works smoothly with VoiceOver, NVDA, and other assistive tools.
Voice Input: Leverage built-in dictation and voice commands to reduce visual strain.
Bottom Line: Simple lighting upgrades and free software tools can transform a challenging setup into an accessible, productive workstation.
Conclusion & Next Steps
You deserve a workspace that works with your body, not against it. By zeroing in on the setup that matches your recovery or visual needs, you can build a truly personalized environment.
👉 Up next: Comparing Ergonomic Equipment: Mice, Keyboards, Chairs & Desks—a deep dive into choosing the right gear for any condition.
Have another condition or tip to share? Leave a comment below, and let’s continue designing better workdays together!
Disclaimer: This article provides general ergonomic guidance and reflects current best practices. It is not a substitute for professional medical advice. If you have existing health conditions or concerns, please consult your doctor or a qualified healthcare provider before making any significant changes to your workspace.